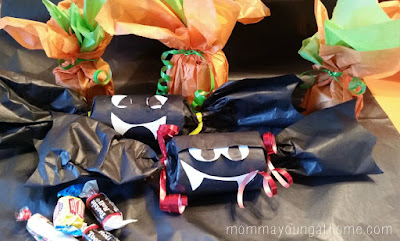
A few years back we made some fun Christmas “Firecrackers” or treat bags and I thought it would be neat to do it this year to hand out as Halloween Treat Bags for either the classroom or to trick or treaters.
This is super easy and fun that all the family can help make. There are so many different Halloween characters we can make with these, but for this tutorial, we will be making Pumpkins and Bats.
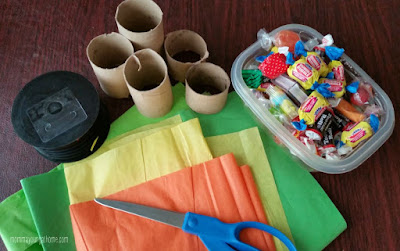
HERE IS WHAT YOU WILL NEED TO MAKE THESE HALLOWEEN TREAT BAGS.
Supplies:
- Scissors
- Elmer’s Glue
- Tissue Paper
- Ribbon or string
- Empty paper towel rolls, cut into thirds or quarters
- Candy
Instructions (for pumpkins):
- Cut tissue paper in half then fold it in half. Remember it doesn’t have to be perfect.
- Cut green paper in half and fold in half at an angle to hang over edges of orange a bit
- 3. Now add your cut paper towel roll and add candy.
4. Now gather up opposite sides of the paper till it is all gathered at the top, twist it and tie a ribbon.
That is it. You can add jack-o-lantern face if you want to take it further.
Instructions (for the bats):
- Fold tissue paper in half and lay your paper tube on its side.
- Add candy into the tube and roll up into a tube.
- Twist each side shaping the tissue to face you flat on each side.
- Tie ribbons on each side. We used yellow and read. Also you can make fangs and eyes.
5. Cut the ends at angles to look like wings.


